
Jupiter Studio (often called Jup Studio) is Jupiter's no-code token launcher on Solana, live at studio.jup.ag since July 3, 2025. To launch a memecoin you connect a wallet, pick Meme or Custom mode, add an image, name and ticker, and press Launch. It costs less than 0.05 SOL in network fees and rent, the supply is fixed at 1 billion tokens, and you keep 50% of the trading fee.
This guide walks through the three screens of the launch flow, explains every setting in Custom mode, and covers what happens when your token graduates. For a live walkthrough, watch the video:
Jupiter Studio at a Glance
Setting | What Jupiter Studio does |
|---|---|
Where | studio.jup.ag (jup.ag/studio redirects there) |
Chain | Solana |
Cost to launch | Network fee plus account rent, less than 0.05 SOL in total. The Launch button asks for at least 0.04 SOL in the wallet. No initial liquidity is needed. |
Total supply | 1,000,000,000 tokens, fixed |
Trading fee | 1% in Meme mode; 1% or 2% in Custom mode. It cannot be changed after launch. |
Who gets the fee | 50% to the creator and 50% to Jupiter, before and after graduation |
Meme mode | Paired with USDC, starts at a 5,000 USDC market cap and graduates at 75,000 USDC (about 15,390 USDC raised) |
After graduation | Liquidity moves to a Meteora DAMM v2 pool and the LP tokens are permanently locked |
These figures come from Jupiter's own Studio documentation and the live launch page, checked on November 15, 2026.
What You Need Before You Start
- A Solana wallet. The wallet you connect becomes the deployer wallet, and it is the only wallet that can claim your creator fees later.
- A little SOL. Fees and rent are paid in SOL even if you pair the token with USDC or JUP.
- A square token image, a name and a ticker. In the launch form the name can be up to 32 characters and the ticker up to 10.
- Your final decision on the settings. Every parameter is fixed once the token is live.
How to Launch a Token on Jupiter Studio
The launch flow has three screens: Basics, Enhance and Share. The screenshots below were taken in late 2025, so a few labels on the live site look slightly different.
Step 1: Open Jupiter Studio and connect your wallet
Go to studio.jup.ag and connect a Solana wallet.
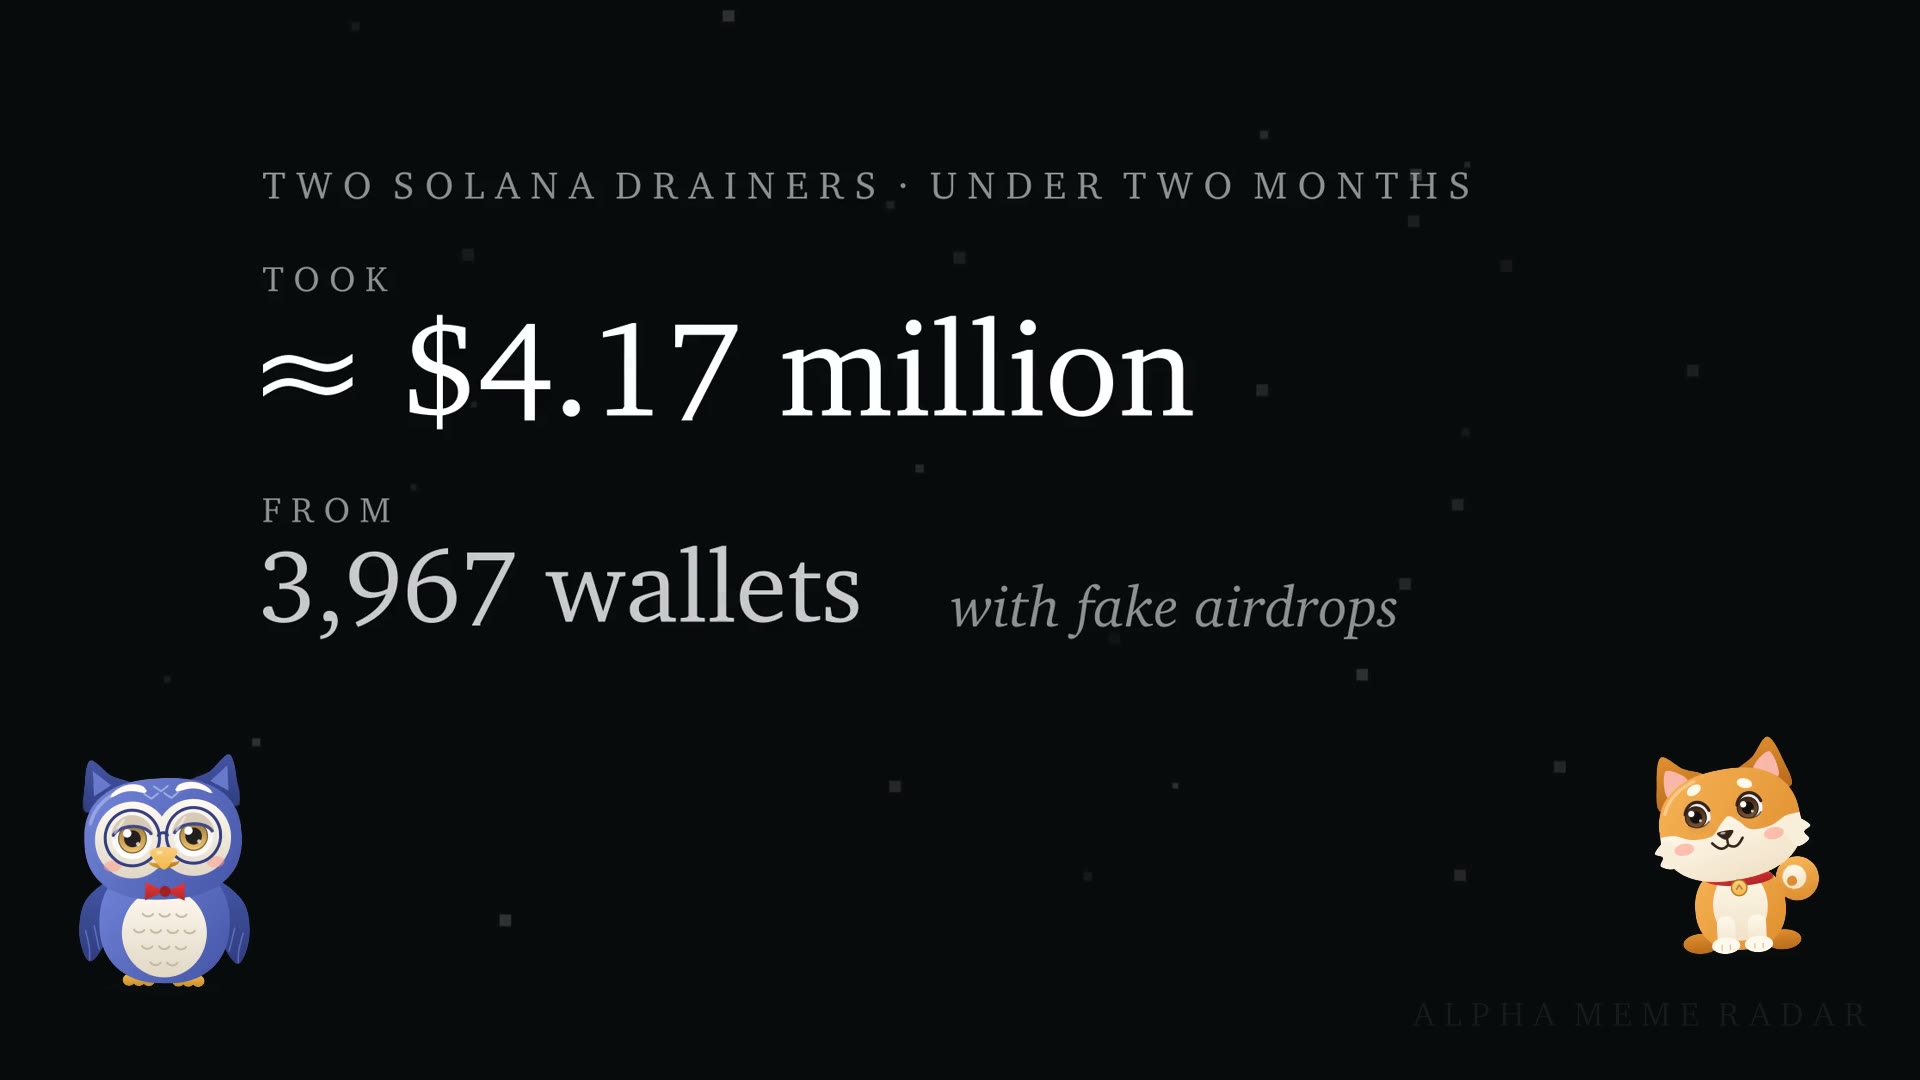
Go to studio.jup.ag and click Connect Wallet. Check the address in your browser first, because fake launchpad pages are a common way to drain wallets.


Step 2: Choose Meme or Custom mode
Pick the preconfigured Meme mode or set your own curve, fee and vesting in Custom mode.
On the Basics screen, Jupiter Studio offers two launch modes.
Meme is preconfigured. The token is paired with USDC, starts at a 5,000 USDC market cap, and graduates at 75,000 USDC once about 15,390 USDC has been raised. The fee is 1%, there is no anti-sniping and no vesting. 79% of the supply is sold on the bonding curve and 21% goes into the liquidity pool at graduation.
Custom lets you set each of these yourself:

Custom setting | Options |
|---|---|
Quote token | USDC, SOL or JUP |
Initial market cap | At least 1,000 USDC or the equivalent |
Graduation market cap | Your choice, as long as the curve raises at least 15,000 USDC or the equivalent before graduation |
Transaction fee | 1% or 2% |
Anti-sniping | Off by default. When on, lasts 1 to 5 minutes, linear or exponential |
Supply vested to you | 0% to 80% of the supply |
Vesting duration | Immediate, 6 months or 12 months, released daily or monthly, with an optional 6 or 12 month cliff |
If the form says the raise is too low, raise the graduation market cap or lower the vested supply until the curve raises at least 15,000 USDC.
How anti-sniping works: it is a fee, not a buy limit. When trading opens the fee starts at 99% and steps down to your normal 1% or 2% fee over the 1 to 5 minutes you chose. It applies to buys and sells, so it also makes the first minutes expensive for real buyers. Meme mode launches without it.
How vesting works: the vested tokens go to you, but the clock starts at graduation, not at launch. If the token never graduates, the vested supply never unlocks.
Step 3: Enter the token image, name and ticker
Upload the image and type the token name and symbol.
Still on the Basics screen, upload the token image and enter the Name and Symbol. These go into the token's onchain metadata, so check the spelling.

Step 4: Add a description and links on the Enhance screen
Review the settings recap and add an optional banner, description and social links.
The Enhance screen shows a recap of your settings, the token supply breakdown and the estimated raise. Here you can add a header banner, a description for your Studio token page, and links to your website, X account and Telegram. All of these are optional. If something in the recap is wrong, use Customize Settings to go back.
Step 5: Press Launch and approve in your wallet
Confirm on the Share screen, sign the message and approve the launch transaction.
On the Share screen, press Launch. Your wallet asks you to sign a message and then to approve the launch transaction. If the button says you need at least 0.04 SOL, top up the wallet and try again.

The token is live on its bonding curve as soon as the transaction confirms, and it can be traded on Jupiter straight away.
What Happens After You Launch
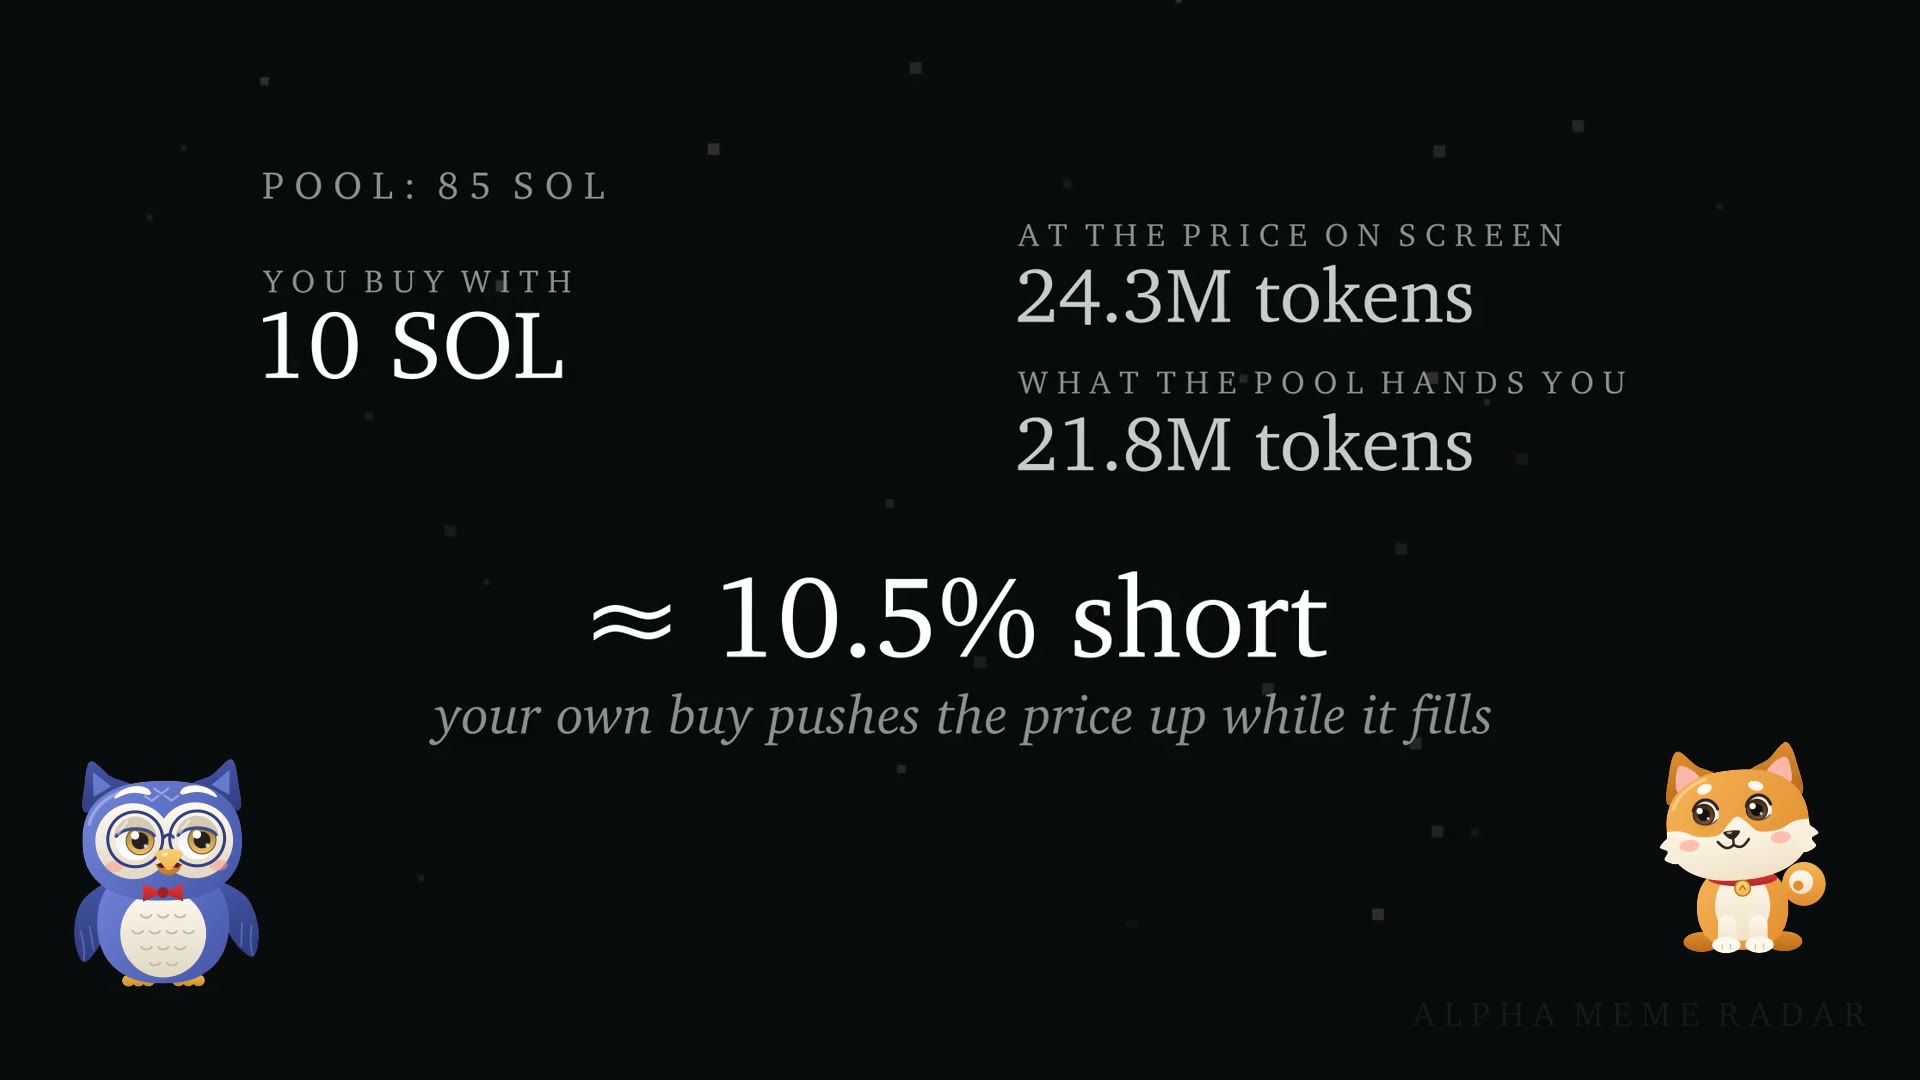
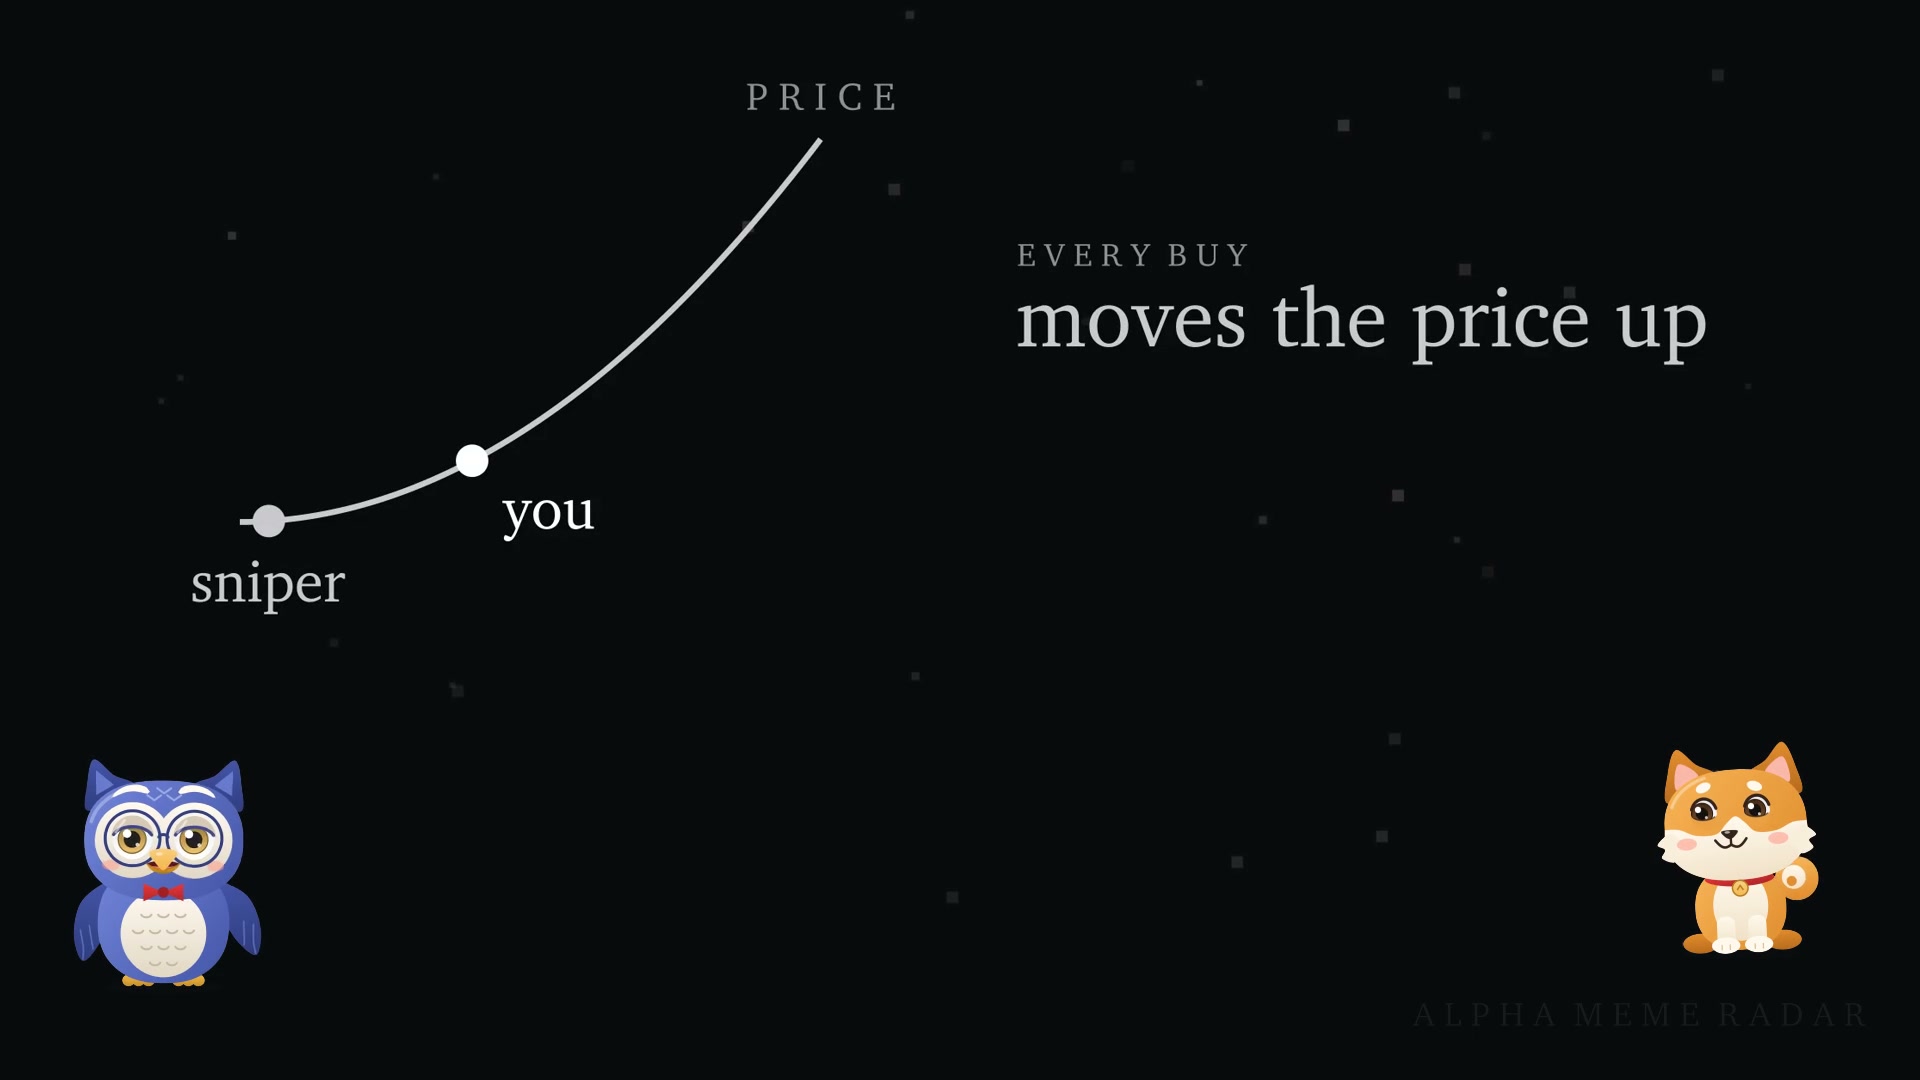
- Trading on the curve. Buyers trade against a constant-product bonding curve, so every buy moves the price up and every sell moves it down. Our guide to slippage explains why large buys fill at a worse price.
- Graduation. When the curve reaches its graduation market cap, the liquidity moves to a Meteora DAMM v2 pool. On every current Studio launch config the LP tokens of that pool are permanently locked, so the creator cannot pull the pool. See what a rug pull is for why that matters to buyers.
- If it never graduates. The token stays on the curve and remains tradable.
- Claiming fees. Connect the deployer wallet on your token's Studio page and click the green claim button next to the accumulated fees.
- Verification. A new token shows a "Not Verified" warning on Jupiter. Verification is a separate process at verified.jup.ag: a standard review is free with no guaranteed timeline, and an express review costs 1,000 JUP and guarantees a review, not approval.
A launch does not guarantee buyers. Most new tokens never graduate, and a token's market cap says little about how much money can actually be taken out.
Frequently Asked Questions
What is Jupiter Studio?
Jupiter Studio, or Jup Studio, is the token launch tool built into Jupiter, the Solana exchange aggregator. It lets anyone create a Solana token on a bonding curve without providing initial liquidity, and it gives each token a page where the creator posts updates and claims fees.
How much does it cost to launch a token on Jupiter Studio?
Jupiter's documentation lists no platform fee. You pay the Solana network fee and account rent, which together come to less than 0.05 SOL.
How much do creators earn on Jupiter Studio?
The creator receives 50% of the trading fee and Jupiter receives the other 50%. With a 1% fee that is 0.5% of trading volume, and with a 2% fee it is 1%. The split is the same before and after graduation.
Can I launch a memecoin paired with SOL or JUP?
Yes, in Custom mode you can choose USDC, SOL or JUP as the quote token. Meme mode is always paired with USDC.
Can I change the settings after launch?
No. The supply, fee, curve and vesting settings are fixed at launch.
Is Jupiter Studio the same as the JUP token launch?
No. JUP is Jupiter's own governance token. Jupiter Studio is a tool for launching your own token, which can optionally be paired with JUP.
Related Guides
- How to launch a memecoin on Pump.fun
- How to launch a memecoin on Raydium LaunchLab
- How to launch a memecoin on Bags
- Launching on Meteora DBC: what the bonding curve's fee settings do
- How to launch creator coins on Zora
This guide is for education and is not financial advice. Launching or buying a memecoin can lose you the full amount you put in.